I have finally settled into my NEW sewing room and I am loving it. I have everything just where I want and as a result I have been sewing a heck of a lot more. It's become a little oasis of creativity ☺
However the more I sew the more I notice how our Ironing Board really needs a makeover. This ironing board has been all the way from the East coast to the West coast and then some.
It really is showing its age. It is looking rather sad and stained. I like to have a few projects on the go at one time so I decided WHY NOT I'll make a cover for the dull dingy ironing board.


I went to pick out some fabric that would spice up that drab ole' ironing board. I nailed it down to the three choices below.
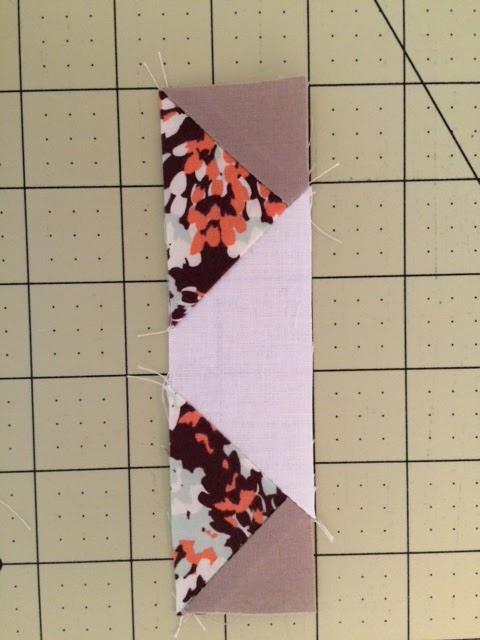
Choice # 1
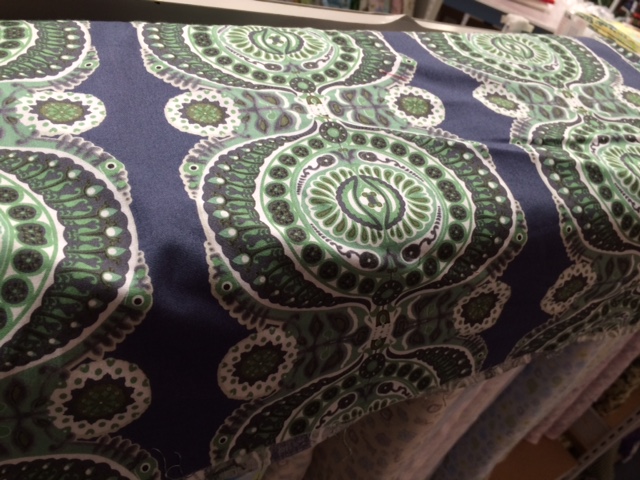
Choice # 2

Choice # 3
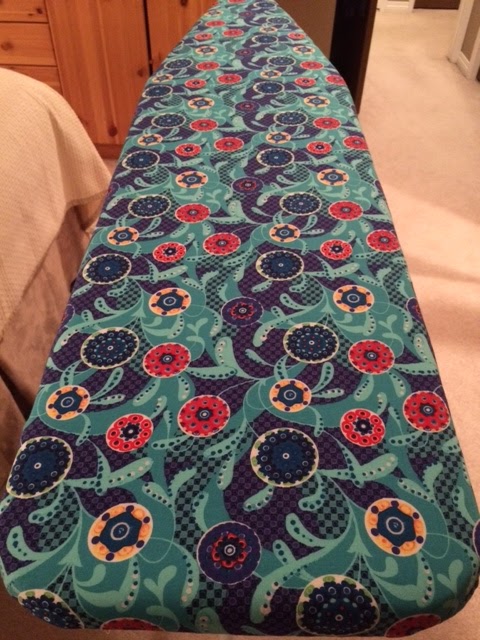
Ding Ding Ding ... Winner Winner Chicken Dinner

After a quick tutorial from the master (Mom) I was ready to go. I'm sure you could have been more precise than I was but I didn't think anyone would really bend down to see the bottom of my ironing board so I didn't see the point.
Supplies
- 2 meters fabric (I used quilting cotton)
- Batting - enough for 1-2 layers (I kept the old cover and batting on for extra padding)
- 3 meters of 1/4" elastic
- Basic sewing supplies
How To
Step 1 - Iron your fabric.
Step 2 - Lay out your fabric and place your ironing board on top.
Step 3 - Cut your fabric out, cutting 3" - 4" away from your ironing board.
Step 4 - Cut your batting using the ironing board as a template.
- Cut the batting so that when pulled down it covers the edges of the ironing board.
As you can see below I was not all to precise (it really isn't too big of a deal)


Step 4 - Fold your raw edge over and sew approx. 1/4" the entire way around your cover.
- Mine was a bit more than 1/4", that's okay.
- Sew around the curves the best you can, you will need to slightly pleat your fabric as you go.
- You will know what I mean when you get to the curved parts.
Step 5 - Fold your nicely sewn section over ~1" this will form a pocketed area .
- This is where your elastic will go.
Step 6 - Sew 1/4" around, try to keep your casing wider then the size of your elastic.
- Leave about 1" opening at the end so you can feed your elastic in and around.

Step 7 - Feed your elastic in through your opening
- Make sure you do not let your elastic tail go in as well or you will have to start over again

Step 8 - Place your cut batting on the ironing board ensuring the edges are covered as well.
- I kept the old cover and batting on for extra padding as well.
- While holding onto the two ends of your elastic, stretch your cover over your ironing board
- Now with your cover over the board, pull the elastics as tight as you can, making sure that
the new cover in completely covering the board and all the edges.
- It should look something like the picture below.
Step 9 - When you can no longer pull the elastic any more tie the elastic ends together with 3 - 5
tight knots. This will ensure the elastic will stay together and tight.

Step 10 - Step back and admire your new ironing board cover ☺
I am very happy with how my new cover turned out and it was so simple and easy. It honestly took me no time at all. The longest part was trying to choose a fabric I liked.
Now my tutorial isn't the most precise however here is a link to a really good tutorial for this project. They used bias tape to form the pocket instead of my folding technique, etiher way works.

Hope you enjoyed my litte project!
Don't forget to comment - we love hearing from you
The - Youngest