Saturday, May 25, 2013

Festival of Quilts - Heritage Park May 25 and 26, 2013 = Inspiration

Well the day finally arrived! I put two quilts in and only one got into the publication with all the quilts listed. Strange, since BOTH were submitted the same time. The one quilt that I wanted published, actually wasn't published. *sigh* My daughter's birthday quilt is done and it would have been nice to pass along a brochure with it as well with the write up.

As I walked into Heritage Park, I decided to go into the "haunted" house, Prince House. Apparently, it is supposed to be haunted, but if anything it's a beautiful house and I was thrilled that my daughter's quilt was in the room as soon as you enter. One of the volunteers was there and she took down the information on her quilt as it wasn't published.

Here is is! The far left. Great that they allowed the fun back to show. Was very exciting to see it!


Here's the new owner! My wonderful daughter! Can you believe that she's going to be 30? YIKES! Good thing she looks like a teenager, makes me look that much younger! ha! Happy Birthday my girl! You will get your birthday quilt once it's home from the show!


I love how the quilts hang on the line outside! We had a forcast of rain, but it quickly dried up. I was happy to be able to take a couple of photo's of the quilts outdoors!

Of course my trip wouldn't be done without a photo of the quilts hanging off the hotel! The rain had just stopped and the sun started shining. The men on duty were hauling the quilts out along with the ladders and the women were hanging the quilts!


I love seeing the simplicity of the quilts come alive with the quilting! This person did a fantastic jobwith the quilting. I absolutely love the triangles! How splendid! Doesn't this give you the ompfhhh to want to get behind your sewing machine????


Beside my lovely daughter's quilt .. this next one has to be my absolute favorite! Look at all those little muchkins dressed up in costume around the quilt! Fantastic job! Love it!


This one was quite striking. The bold colours topped off with the wonderful hand stitching! I was surprised to see that it was signed in gold right on the front of the quilt with a signature. Something I've never seen before!


I took a close up of this one. It was made from jelly rolls, sewed across in strips. Nothing too outstanding, until you got up real close and noticed that the maker used a different style of quilting for every row! What a great way of learning your stitches and giving your simple quilt some pizzaz! I am new to free motion, but this would be a great way of practicing and getting a quilt out of it!

There were so many beautiful quilts! One, right after another. This one caught my eye. The whole quilt was quite spectacular. The hours that were spent on this one I am sure would add up to months. Just take a look at the incredible detail on this! I think that some thread company out there would be wise to snap this gal up to showcase their threads! Amazing job! Oh one day I wish I could be a touch as good as this person!

Ever wonder what do to with all your scraps? Look how beautiful this scrap quilt is!

I so wish I could have seen these two quilts spread out, or hung from the hotel. Sometimes you want to see the pieces as a whole. Take a look at those incredible points on the round pieces to the left.
The right quilt, great again with those scraps!

I've never seen this pattern. Makes me wonder if this is an original design? (This quilt below is by Wayne Kollinger -- read his comments below!)

I love the bright colors! What really struck me with this were the black and white dotted fabric for the points.

It seemed that there were not as many quilts as last year. They have been advertising there were 800 quilts, but maybe with the rain, it was harder to see them all?

The vendors were the same. Nothing new to see really. I am afraid that I fell off the wagon though and I did buy some patterns and a few things that I needed to replace -- markers, tape measure. I found a cute little snowman pattern in a jar that I'm going to stich up for my desk at work (of course, brining it out when the snow starts to fly! ha ha) I found a great pattern for a baby quilt. I will show you once I make it!

All in all, it was ok. I think that I enjoyed it much more last year, being it my first year to participate. Seems that there was really nothing new other than the wonderful applique collections they were showing. I am thrilled to be completed my daughter's quilt. I am sure it will be a wonderful addition to her new place that she's moving to!

Hope you all enjoyed my little tour and ... Happy Quilting all!

Margo

Monday, May 20, 2013

Quilt Hanging Sleeve, "D" style hanging sleeve


Start with fabric that is 8" in length. The width will need to be as wide as your quilt (less 1"). The sleeve needs to fit inside of the back of quilt beside the binding. Your final sleeve should be no narrower than 2" on each side.


On each side of your long strip, fold over 1/4" press, then fold once more 1/4" and press. Top stitch the ends.

Your next step will be to fold the whole length in half. Then press each edge to the middle. Press the folds. (I used starch on these as you want to be able to see these crisp folds in a few minutes!)


You then unfold the length of your sleeve and put the raw edges together, with WRONG sides together.


Sew along the length of your sleeve with a 1/4" seam.


You will note your finished side edges will be on the inside. The lengthwise seam that you just sewed will be on the outside (showing on the good side of the fabric....don't panic! This is the way you want it to look!)


This is the trickiest part. You will note that my pointer finger is on one of those earlier pressed fold. The lengthwise seam you just sewed is positioned close to the middle. My thumb is just before the second pressed fold (it's off kilter and both folds will not equally lay flat. Don't worry about this -- you want it to look this way!) 


 Remember that you do not want to disturb your previous folds that were pressed, but you want to press open the seam you just sewed.


If you do not have the little Clover iron, you can use your regular iron. Be sure not to disturb the edge that had the previous pressed fold.


Once you are done pressing the center seam, you will note that the sleeve is now in a "D" shape. The flat part will be laid against the back of your quilt. You will be sewing the pressed folded seams to the back of your quilt. The purpose of the "D" shape is to accommodate rods to slide through the sleeve to hang your quilt.


I positioned my sleeve approximately 1" below the edge of my binding on the back of my quilt. I first found the center of my sleeve, then positioned the center to the center of my quilt.

Pin the top pressed fold all along the top of your quilt. Make sure that you measure along the length so that your sleeve will stay consistent. I found that leaving 1" on the top, gives the "D" sleeve enough room where it does not pull beyond the top of the quilt when you hang it up.


Then, start sewing this pinned side down to the back of the quilt. Make sure you have a hand behind (on the right side of the quilt) so that you don't stitch right through to the front. You want your stitches again to be invisible.


Once the top of the "D" sleeve is sewn -- lay the back of the sleeve flat against the back of your quilt. You will note that the top (the curve of the "D") will be bubbled on the top -- that's perfect! Pin and then stitch the bottom side of your sleeve to the back of your quilt.

You can flatten the "D" sleeve by pressing it if you are giving it as a gift. The new owner then has the option of placing it on the bed, or to hang it on a wall.

This one will be going into Festival of Quilts at Heritage Park here in Calgary, so I am hoping they put the sleeve into good use! It is a long overdue gift to my eldest! She turns 30! OMG! I'll post photo's of the whole quilt later!

There are lots of ways of making sleeves. Sizes vary depending on your needs. Check it out and see what works for you. I ignore the Quilt Police and do what works for me! I hope that these instructions help you with your first sleeve! If you have additional tips - feel free to add them in the comment section. I'll do my best to drop by now and again to make sure they are posted!

Happy Quilting!

Bindings

I absolutely LOVE the way that hand sewn binding looks. Good hand sewn binding. This is the step that I absolutely LOVE. I find hand sewing very peaceful and calming. It finishes your quilt so nicely. I know there are people out there that absolutely HATE this step (aka my youngest) -- but this is such a crucial last step.

There are people who machine sew their binding on and love it. My choice is to finish it with hand sewing invisibly so it finishes the quilt. I figure you spend enough time on the quilt that you want it finished as smoothly as you can. I do use the machine to sew the binding on. (See my post on sewing on binding). This is the last step to finish that binding.

Just like you use the proper tools for cutting, you need the proper tools for finishing. In my experience, I find that the people who hate hand sewing are using the wrong needles and their stitches are showing through like stitches on Frankenstein -- they are NOT invisible. The trick to this is to use the proper needle. It needs to be sharp, it needs to be thin as possible and you want it to smoothly glide through the fabric. I have used all sorts of needles, long, short, sharp, applique, all-purpose. I always buy new needles as they come out and try them.  I finally found one that I think will be a keeper for a long time to come! "Clover Black Gold Needles Applique/Sharps (No.12)"


I like the way it goes through the fabric. It doesn't stick or pull when it glides through the fabric. It is incredibly sharp so that I can grab a few strands of fabric resulting in those invisible stitches, yet securing the binding on the back. The trick to getting invisible stitches is to run your needle under the binding into the back layer of the quilt, then pick up a few threads on the edge of your binding and pull your thread through. put your needle back into the back layer of the quilt directly under the stitch and run your needle again about 1/8" away from the stitch you just made. Practice, practice, practice to get these small stitches. Match your thread to your BINDING color.  These invisible stitches are great to use for your labels as well as your hand-applique.


I have enlarged the photo to show you where you go into the fabric (back layer of your quit) and approximately 1/8" into the binding. When sewing, I try to get as close to the edge of the binding as I can. Take a look again at this photo. The binding is already completed and hand-sewn to the back and you can't see any of the stitches! This photo is just to show you needle placement.

Remember, you can sew on the binding to the front with a 1/4" seam. You then fold it over and start hand sewing!

BINDING SIZE:

I've been using strips 2 1/2". I found that when you turn it over to the back, there is a larger finished binding (wider) on the back than on the front. I then tried 2 1/4". Same result for me. I have now tried a 2" strip and found it works great!

Remember, the strip width will all depend on how thick your finished quilt is. If you are using flannel and/or a thick polyester batting, I would use the 2 1/4" strip. If you want a rounded finished binding (so it looks like cording) -- use a smaller width binding.   Note that you will really need to pull it over to the backside when you are sewing (this can be really tiring on your hands!)

When you pull your binding to the back to sewn on -- you want to make sure the edge of the binding on the back covers your stitches front the front. The narrower your binding strip, the harder it is to pull the front to the back. The last two quilts I have done, I have used 2" binding strips.


I use single fold binding. 2" folded in half = 1" binding. I then sew the raw edge to the raw edge of the quilt using a 1/4" seam. Since there are two layers against the edge, it wears better. 

Making binding is easy! There are loads of tutorials on line. I have made continuous bindling and I have also made my own binding using strips and sewing them together. Some people say that bias binding wears better as the grain of fabric is on an angle on the edges. I have cut strips along the grain and have found no issues with it. Try each method and see which one you like the best and the easiest for you!

Hope that I haven't confused you! Happy Quilting everyone!

Thursday, April 25, 2013

Adding a MITERED BORDER

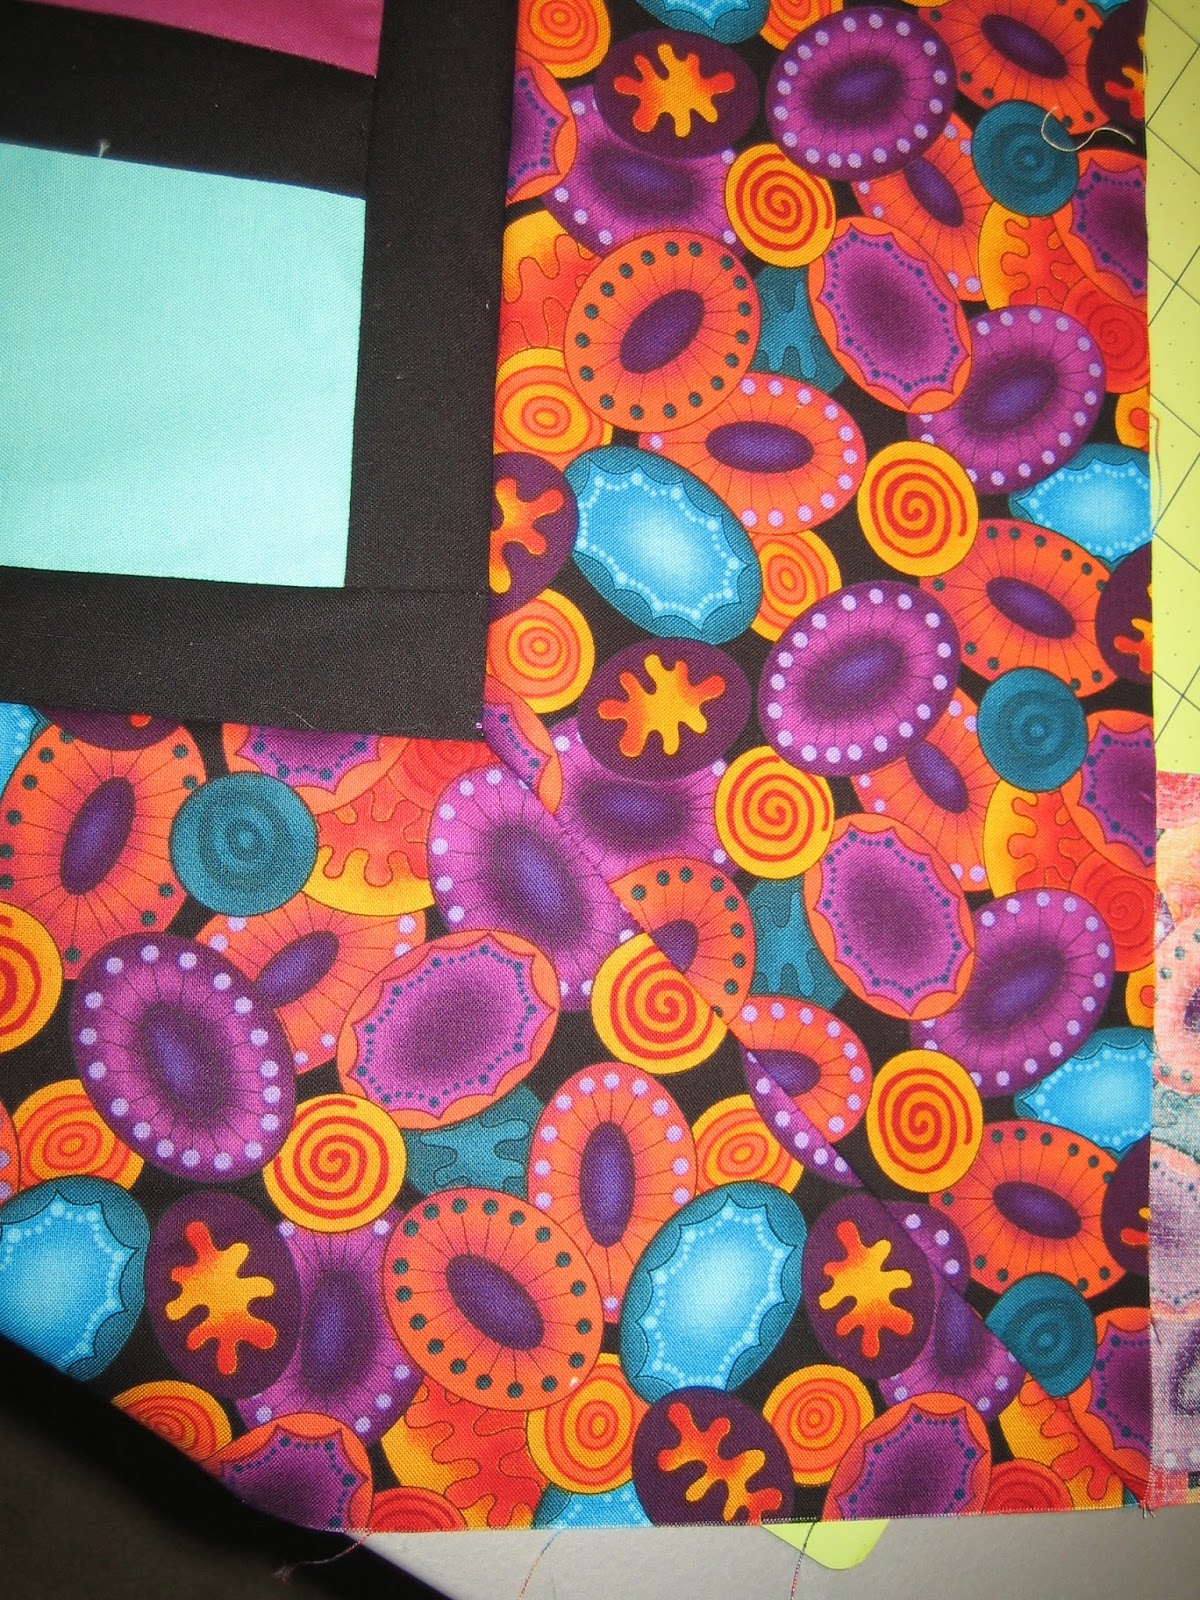
Warning ... there are LOADS of photo's. I am hoping that the photo's will give you a step by step look as to how to do this. Don't fret when you do this. Take it slow, one step at a time. Now the quilt police out there will pick this apart, but who cares. This will work out just fine when you do it and you will be thrilled with the results. This is the finish to my Mystery Quilt from Sunday! Yipee.....so here we go!

Measure out your final border. Cut your strips to how wide you want them. Measure the full length of your quilt lengthwise then add 3 x additional width of your strip to the length of your strip (i.e. your last border is 8" -- and the length of your quilt is  100" -- you will need a strip 124" long (100+8+8+8) I am NOT a math wizard, and I don't know how else to explain it like the quilt police -- but I also want enough so that I don't cut myself short. If you are cutting 8" strips x the WOF (width of fabric) -- you will need three 8" strips that you will need to sew together to make one long strip. I don't measure precisely -- if it's a bit longer, that will work too. You can always cut the extra off.

Mark the center of your quilt with  a pin

mark your border piece in the center with a pin. Start pinning the border to the whole width of the fabric from the center to the edge. From center to the right and then from the center to the left.


You will sew this strip on all the way EXCEPT you are going to leave a 1/4" from each edge. Make sure when you start your stitching (1/4" from the edge) that you take a couple of extra stitches to secure your start.


You will sew your next strip down. Make sure that you move your other strip out of the way so that you don't sew down into it. Remember you are going to leave 1/4" gap on each side again.


When you start your stitching, bring up your bobbin thread to the top. Hang onto these babies so that you don't get a rat's nest on the underside. (you can tuck them under the foot once you take a couple of secure stitches --meaning you are stitching in the same spot for three times, or itty-bitty little stitches so your stitching doesn't pull out)

When you are done stitching the two sides, this is what it will look like.

You then fold your borders right sides together and your quilt top at a forty five degree fold. Remember, if  you mess this up, you only have a bit of stitching to un-stich. This is the WORST/HARDEST part, but once you get one corner done you will be patting yourself on the back and giving someone the High Five!

You are going to now mark your stitching line. Pay attention to where your stitching on your borders stopped, because that is where you are going to begin stitching for the next step.

You are making a stitching line and you are NOT adding a 1/4". You will note the ruler lines up with the edge of the folded quilt.

Don't trim any fabric, YET.... mark and then start sewing.

It's easy to put this under your machine, hand lower your needle to the right spot. You can see where I am pointing is where I am stitching. It's a bit thicker here because you have folded the fabric, but it can be done!

When you have finished stitching, take it out of your machine and unfold it. Make sure that your corners match up. If not, un-stitch your stitching and start over again with folding. You will only have to undo stitching ONCE and you will be a PRO! Have faith!

When you are satisfied with your corner, you can then trim the extra fabric! Remember, this is where you add a 1/4" outside of the seam. Make sure that you measure twice and cut once! You want to make sure that you cut outside of the stitching line (away from the fold in the quilt)

Turn your quilt to the wrong side and press open your seam. Your border will lay nice and flat with this method.

Do your final press and VOILA! Beautiful borders!


Happy Quilting everyone! I'll post a photo of this once all the quilting is done!

Sunday, April 21, 2013

Mystery Quilting Day!

Well I did it and took my very first Mystery Quilt class today! What a great time! I "almost" finished the top. It will be complete by tomorrow night and I'll post a picture! The organizers were great! We had "pressers" to help us along so all we had to do is sew, sew, sew!

To start, we were given our list of fabrics and a detailed list of how to cut them up. Our cut pieces them went into our numbered bags. When we got set up in the morning, our first "clue" was given to us and we started our sewing! About every 45 minutes we got additional "clues". I had NO idea what it would look like in the end! Needless to say I am thrilled with the end result! I have one more mitred border to complete and it will be done! As I live in Calgary and the Mystery Quilt was an hour away, I decided to leave before that final border. I left at 8:30 in the morning and I arrived back home at 7 in the evening! A very full day I'd say!


This is the first time that I used solids! Too bad my camera didn't show the amazing colors! Wait until you see the end result! I found that the solids frayed ALOT as I sewed. I've never sewn with just solid fabrics and I'm not sure if this is a normal thing. I guess I just noticed it that much more as I was sewing on black borders. I'll be sewing some baby quilts with the same fabrics, so I'll have to wait and see how those go! They are from my Kona Cotton stash, so the fabric is of good quality. If you notice the same, let me know ok?


A day out isn't the same without picking up some goodies! The Mystery Quilting Day also had a surprise with some wares for sale! I found a decent sized needle threader for my handwork and some lovely applique needles (I'm a needle-hound when it comes to finding the "right" feel of needle for my handwork!) The Wonder Clips are in addition to the ones that I already have. They are fantastic! I love them for when I'm hand stitching on my binding. They hold the binding in just the right place. It's nice to be able to have a whole side clipped down so all I have to do is sew, sew, sew!

I know that I gave out my blog addy to a lot of you out there. If you have some photo's of your finished quilt that you want me to post, I would be thrilled to show them off! Email me at onlydiamonds@hotmail.com . Better yet, if you have tips and ideas, comment! I would love to hear them. No Quilt Police allowed though! ha ha! Enjoy your journey in quilting and don't worry about the small stuff! If it works for you -- that's all that counts!

Happy Quilting Everyone!

Saturday, April 20, 2013

Thread

I have been trying to find out more about thread. I pay enough for thread, and am always using it. I've read stuff, but then of what I have read on blogs, most of the bloggers are being sponsored by the thread companies. Of course they are going to "LOVE" the thread that they are using. I too, would like to be sponsored, but alas I am a little spec in the blogging world and my hard earned dollars have to go towards making wise decisions!


LtoR: Presencia, Signature, Isacord

Just to give you an idea of the prices:
Presencia Egyptian Cotton - 60 wt for 4394 m at $34.99 Canadian + GST
Signature Cotton - 40 wt for 3000 m at $16.99 + GST
Isacord Polyester 5000 m  at $20.99 + GST

Isacord is apparently twice the strength of rayon thread. It has a shine comparable to rayon. It is used for embroidery and comes in many colors. This is a thread that is used in free motion quilting by Leah Day for it's strength. This is a low fluff thread, so when you use it, you will notice there is less fuzz in your machine than with the cotton. Some die-hard quilters refuse to use polyester and say that it ruins the quilt as it will cut through the fabric (maybe in 200 years or more, but hey, I don't plan on being around that long!)

Signature 40 wt: is supposed to sew at high speeds with no trouble. I figure any speed over "slow" for me causes trouble, so I need all the help I can get! It is a 3-ply thread that works on both domestic and long-arm machines. It comes in multiple colors and they say it's great for "multi-directional" sewing. Does that mean if I sew backwards and forwards and sideways I'll have less breakage? They say it's "low ling", so that's a good thing in my books! We will have to wait and see! Longarm University uses this thread.

Presencia Egyptian 60wt is solid dyed and colorfast. It is slightly thinner than the 50wt and they say it blends into piecing. It's 3-ply and can be used for hand or machine piecing. (I use any thread I can get my hands on for piecing by machine or by hand) Harriet Hargrave uses this thread. The colors can be used with any detergent.

Generally, they say the thinner the thread, the closer you get to your 1/4" seam. The higher the number (40 wt, 50 wt, 60 wt) the finer the thread.

The Presencia America website quotes:

40 weight is designed for longarm quilting, decorative stitching and top stitching — when you want the stitches to show. Mercerized - Colorfast - Shrinkfast


50 weight is ideal for general construction, piecing and appliqué.


60 weight is perfect for invisible applique or quilt piecing to achieve an exact 1/4" seam allowance.

I guess in time, I will find the "perfect" thread for me. I am finally able to tell the difference between "cheap" cotton fabric and "quality" cotton fabric. Some of the fabrics that are "cheap" can have a good "feel" to them. I found that the cheap fabric quilt that I made for my son way back when, still looks just as good as it did years ago despite multiple washes. I can tell the difference though with the batting that I used compared to the batting you can choose now. As for the thread, I have no idea whether it's polyester or cotton. I am sure I could figure it out if I wanted to pull some of the thread out and see how easy it will split or come out, or whether it has more elasticity to it (i.e. polyester). I do know that I like hand piecing with thinner thread as it tends to hide my stitches so that they are nearly invisible. So a higher weight is a good thing. As for the fuzzies, I know that the cotton threads tend to leave a whole lotta fuzz in my machine and I have to clean it out a lot more. I noticed as well that depending on what I am sewing, cotton tends to break easier than polyester.

Things to think about when you are choosing thread is: hot irons -- polyester will melt, whereas cotton will not. Sometimes you need a hot iron to get your pieces to lay they way you want them to lay! They say that polyester will shred cotton fabric in time (we are talking years and years). Think about how much quilting you are going to put in the quilt -- how do you want it to appear? Do you want it to show, or do you want the stitches invisible.

I am learning as I go along! Tensions etc. are a headache for me and my Symphony basically does all the work for me. I don't have to worry about the tension -- but I may have to one day. I am experimenting on threads lately. I have a lot of polyester thread that I would hate to waste! I also have a load of cotton threads in different weights that I want to use, along with some variegated rayon threads for thread painting lately!

My Internet research didn't help a whole lot as every website that I visited had their own favorite. There is no science to threads and it seems that the consensus is find a thread that works for YOU!  My next challenge is to find the thread I LOVE and a shop that sells it the CHEAPEST! ha ha! I have used King Tut and loved it.

http://welcome.solutions.brother.com/BSC/public/us/us/en/faq/faqh/000000/000000/000004/faqh000004_000.html?reg=us&prod=hf_inov4000deus&c=us&lang=en  will take you to a great website that deals with needle sized and thread. It's a good place to get the basics down.


Happy Quilting everyone! Tomorrow I am off for a Mystery Quilt Day! So excited!

YIPEE! THIS IS MY 50TH POST!

Thursday, April 18, 2013

Accuquilt GO!

Tonight I went to an Accuquilt GO! class at Out of Hand Needle Arts. I plunked myself down by two lovely ladies, Margaret and Maureen. (Hi ladies!) It's always great to meet people who love something as much as you do! It was nice to be welcomed and encouraged about the classes there. This was my first one, but Maureen has and says that they are great! I will be looking forward to the new classes coming up and hope to try my hand at needle-turn applique. I do like some hand stitching!

I went to take their class on "Accuquilt Acumen" by Jeneane Whyte for tips and tricks on how to use the GO! I bought mine there in January and have used it, but thought that I could use some more info and advice on what to do with it to really utilize it! It's always great to get into a group where you hear ideas from other people. I was listening intently and thinking to myself, "I never thought of that!", "what a great idea!", "ohhhh....and I could do......" All in all, it was a great class! Of course I had to come home with some more dies!

I was worried about the cutting mats being wrecked, but Jeneane showed us some mats that were warped. She said, "As long as you can't see the light of day coming through, it's good to use!" That made me feel better because I was worried that I was doing it wrong. When you cut with the Accuquilt GO! you CAN see the cuts into the plastic. I was worried that I was ruining it. The mats are designed that way, and you can use it over and over again. That in itself was worth going to class! I'm so glad that I took the time to go and I'm feeling much better about the investment of the dies. They really are not too bad if you buy them one at a time and once in a while. You will use them for many years to come!


Deirdre, was kind enough to order in the "feather" die for me and I thought the flower die would come in handy as you can also cut the petals separately for use as leaves and other embellishments! I learned about cutting wool with the GO! so I may have to have my hand at creating a little penny rug or something! I'm allergic to wool though, so I wonder how that will work with my hands? Will I break out? Start wheezing or the like? Never know until I try I guess. Cotton has been a pretty safe bet for me, but I sure do like the creations from wool!

Deirdre tries to have this class every session, so if you are thinking of buying an Accuquilt GO! it's worth going to the class to find out how they work! You get to try it out and look at the dies up close and personal, rather than peering through a package. You get great tips on how to use them (other than just the photo on the cover of the packaging!)

Happy Quilting Everyone!

Wednesday, April 17, 2013

Binding fabric choices are so confusing ...and so are the backs

I've been browsing all those wonderful blogs to see what the trends are with binding. Some people do a matching binding. The fabric will match borders, strips or lattice. Sometimes people use totally off-color fabric, or they piece multiple pieces together. Others don't even add a binding, or pull the backing fabric to the front to make it look like there is separate binding.


I bought some black and white fabric previously, but it just didn't seem like I had enough. I went to Out of Hand Needle Arts in Calgary ( http://www.out-of-hand.com/ ). It's too bad their website doesn't match their spectacular shop. Out of Hand Needle Arts is totally "out of hand" when it comes to supplies and fabrics! It is jam-packed with tons of goodies! I found the above Robert Kaufman Night & Day (above) and knew it would be an interesting match to my daughters quilt once it was done! It's quite overwhelming, but if you are using bits of it, I think it adds some visual interest to the quilt itself don't you think? (photo below shows the basic colors of the quilt that's off to Queen B Quilting to be quilted!)


My little leaf wall hanging is next on the list to be free-motion quilted, but I wanted a fabric on the back that matched the muted colors on the front. Although the piecing of the front is with Bali charms, I wanted to go with the same colors. This bolt caught my eye when I saw it on the shape, but when I unrolled it and saw cabbage on the back I had to laugh! I love cabbage! But I know quite a few people that don't! Good thing it's going onto the back! I figured it was busy enough to allow for a few of my boo-boo's when I start quilting! Should be interesting!


What fabric do you put on the back? Do you spend tons of money on the backing? Do you use sheets? Do you use re-cycled material? Do you piece your back as well? Do you use flannel? Minky? Tell me your great ideas....and Happy Quilting!

Sunday, April 14, 2013

Playing with thread

This is the first time that I am trying to work with thread as an embellishment to my quilt top. I have no idea how it will hold up when it's all quilted. I also tried machine applique for the first time a while back with this. I used a lightweight fusible for the leaves and I wasn't sure how the thread would go through. I'll have you know it was just fine! There was no sticking or slowing my Symphony down. I used my darning foot as in free-motion with the thread. It gave me a little more time to think about how I want to quilt this wall hanging.


I used Wonderfil Rayon thread (40 wt. variegated col #8227) in both the top and bobbin. I used a small zigzag with my darning foot as though I was free-motion quilting.


Eventually I'll get the knack of this, but with quilting, new techniques are only proof that you are learning and growing your creative abilities. Some of the leaves are horrid, but then again that gives it character! (especially as I wasn't about to rip out all the threads!) While I stitched away, I was thinking of all my projects that have been sitting there. I am going to work hard on getting my UFO's completed this year so every new project will be exciting. Like the wall hanging above, I'm a bit "OCD", thus the name of the quilt! You will notice one of the leaves off in a different direction to the others. I pieced the whole thing with the leaves going the same way. Months later I looked at it and thought how "OCD" it was with everything matching and no difference to it -- thus, in the middle, I took one of the leaves and ripped out the block and re-positioned it! It was my "wild" side saying screw it to have everything "matchy matchy" as my daughter would say! I threw caution to the wind in a small way and turned that sucker! So, if you look at the finished product and see one leaf in a different direction....who really is the one with OCD? :-)

I'm not one of those who likes working on a multitude of projects. I like to start something and finish it, otherwise I feel that I "failed" at the project. I know it's not reality -- and that too I am working on.....embracing projects that are not just quite finished and feeling no anxiety with starting a new one! Maybe it's the way I was brought up! You start something and you finish it! Hah! Well, I'm getting over that in a hurry -- especially when it comes to my quilting!

How are you with piecing? Can you stand the "mistakes" or are you a perfectionist that wants to rip it out until it's perfect? Are you the type of person that will do it over and over again until it's perfect?

I know one thing for sure... Tigger doesn't care how much time I spend in the studio. He just loves hanging around! Good thing I wasn't pressing too much today!


I think he was worried that I was going to give him the heave-ho! He had his forehead buried in the board seconds before this, but as soon as my flash click on he pulled up his head!

Good thing it's a snow day -- more time for quilting! Have a great one!

Saturday, April 13, 2013

Scraps anyone?

I've been saving my scraps faithfully! Enormous guilt eats at me for throwing away things that I paid good $'s for -- then there's the reality of saving a little "too" much where I feel like a hoarder! Speaking of...every time I watch the show "Hoarders" I end up tossing a few more items and donating a box or two, so all is good!  The little sampler below was hand stitched while camping and then I quilted it on the old Singer machine. It was a great little pattern that I got from an Australian magazine when I first started quilting. BAD NEWS is that I bought fabric for all of the piecing. I didn't have a "stash" (don't think I even knew what the word meant at that time!) and I didn't have any "scraps" around that I could do this with! I sure loved making it and will probably do another one. The little hearts were my first attempt at using wax paper to applique. I didn't know that you had to REMOVE the was paper, so the little hearts are still a bit stiff in there. The whole thing is smaller than a place mat and the likelihood of it being laundered to death is slim! I had no idea that this type of border was called a "piano" border, and mitred corners with the binding? NOPE! ha ha...I look at this now and just giggle, but it's my little start into the world of quilting, so that makes it quite fine!


I was thrilled to find out that Joan Ford  brought out another "scraps" book! I love this one as much as her first one! I had no idea how to control my scraps or what sizes to cut everything into. She's made it so easy to organize your scraps! I know that when I don't have anything on the go, I will be able to put together a quick quilt or two with my "scraps" that will end up looking just a beautiful on the front covers of her books! Thanks again! So exciting to browse through a book that I know will become a staple in any quilter's room! (Yeah, yeah, I know a couple of posts ago I was vowing not to buy anything! hah!) Check out her blog for more great ideas!  http://scrap-therapy-quilts.blogspot.ca/  or her other one http://hummingbird-highway.com/


While I was browsing on Amazon, I saw Julie Herman's book of Jaybird Quilts. I had this one on my list of "wants", but never got around to it yet. I thought since I had one book on order, I might as well work in another with the shipping costs! I ordered yet another one, but it's still waiting for delivery.  I'll post it when it arrives! Onto Julie Herman's book.... I love the simplicity of the patterns and the impact visually when they are done! The directions are clear (which is what my old brain needs!) Looking forward to trying some of these out! Check out Julie Herman's website! She has some great tutorials to try out! She's hooked up with Pink Chalk Fabrics where I bought her "Chopsticks" pattern for the baby quilt a while back!  http://www.jaybirdquilts.com/


What are you reading?