Showing posts with label finished project. Show all posts

Monday, April 3, 2017

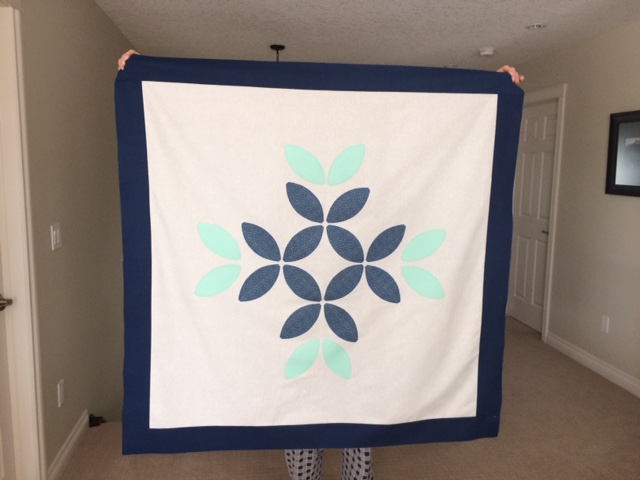
Snowflake Applique

I must have a short attention span because I have to constantly switch up my projects and take on more and more and more.

My WIPs (work in progress) are getting a bit out of hand. Does anyone else have this problem? This was my latest WIP however I have motored along and got this one completed.

I love looking at Pinterest and getting new ideas and I came along a picture of a very simple snowflake design. These days I am determined to only use my stash! So I dug through my messy fabric stash drawer seeing if I had any fabric that would work for the "Snowflake".

Fast forward through all the digging and it turns out I was in luck. I had all the right fabric colours, turns out most of the fabric I picked was from Fridays Off. Now all I needed was some guidance from my all knowing "Mom". I have never attempted applique before and you know "Mom knows best".


I was drawn to this pattern for its simple yet impactful design.
Plus I have been wanting to use my new orange peel template.  


After a long sew day at Moms 
(me sewing & mom teaching - she is still recovering from her 2nd hand surgery)
I had the top completed in no time. I have no idea why I never attempted applique before.

My amazing Husband was gracious enough to hold up the quilt top for me =D


Next was the basting. My mom read about a new technique called board basting and she thought I would be the perfect student to test it out.

It worked perfect and I easily basted the entire quilt MYSELF - yay! Usually it helps with a second set of hands for basting but seeing that my Mom is out of commission I was out of luck.

I was flying solo, and it worked out fine.


 Usually I have my quilts professionally machine quilted but it was decided that I should do this one from start to finish. I am a BIG NEWBIE when it comes to machine quilting and was laughing uncontrollably and at the same time thinking "What have I done" HAHA 


HOWEVER in the end I think the quilting actually looks really great.
Why oh Why must I second guess myself.


This quilts new home will be for an adorable baby boy who was born in January. A blue snowflake quilt for a beautiful winter baby.


Until next time
- The Youngest-


Saturday, March 5, 2016

Presents Given and Received

Today's Blog post is dedicated to Gifted Quilts

Quilt # 1 - Mom's Creation  

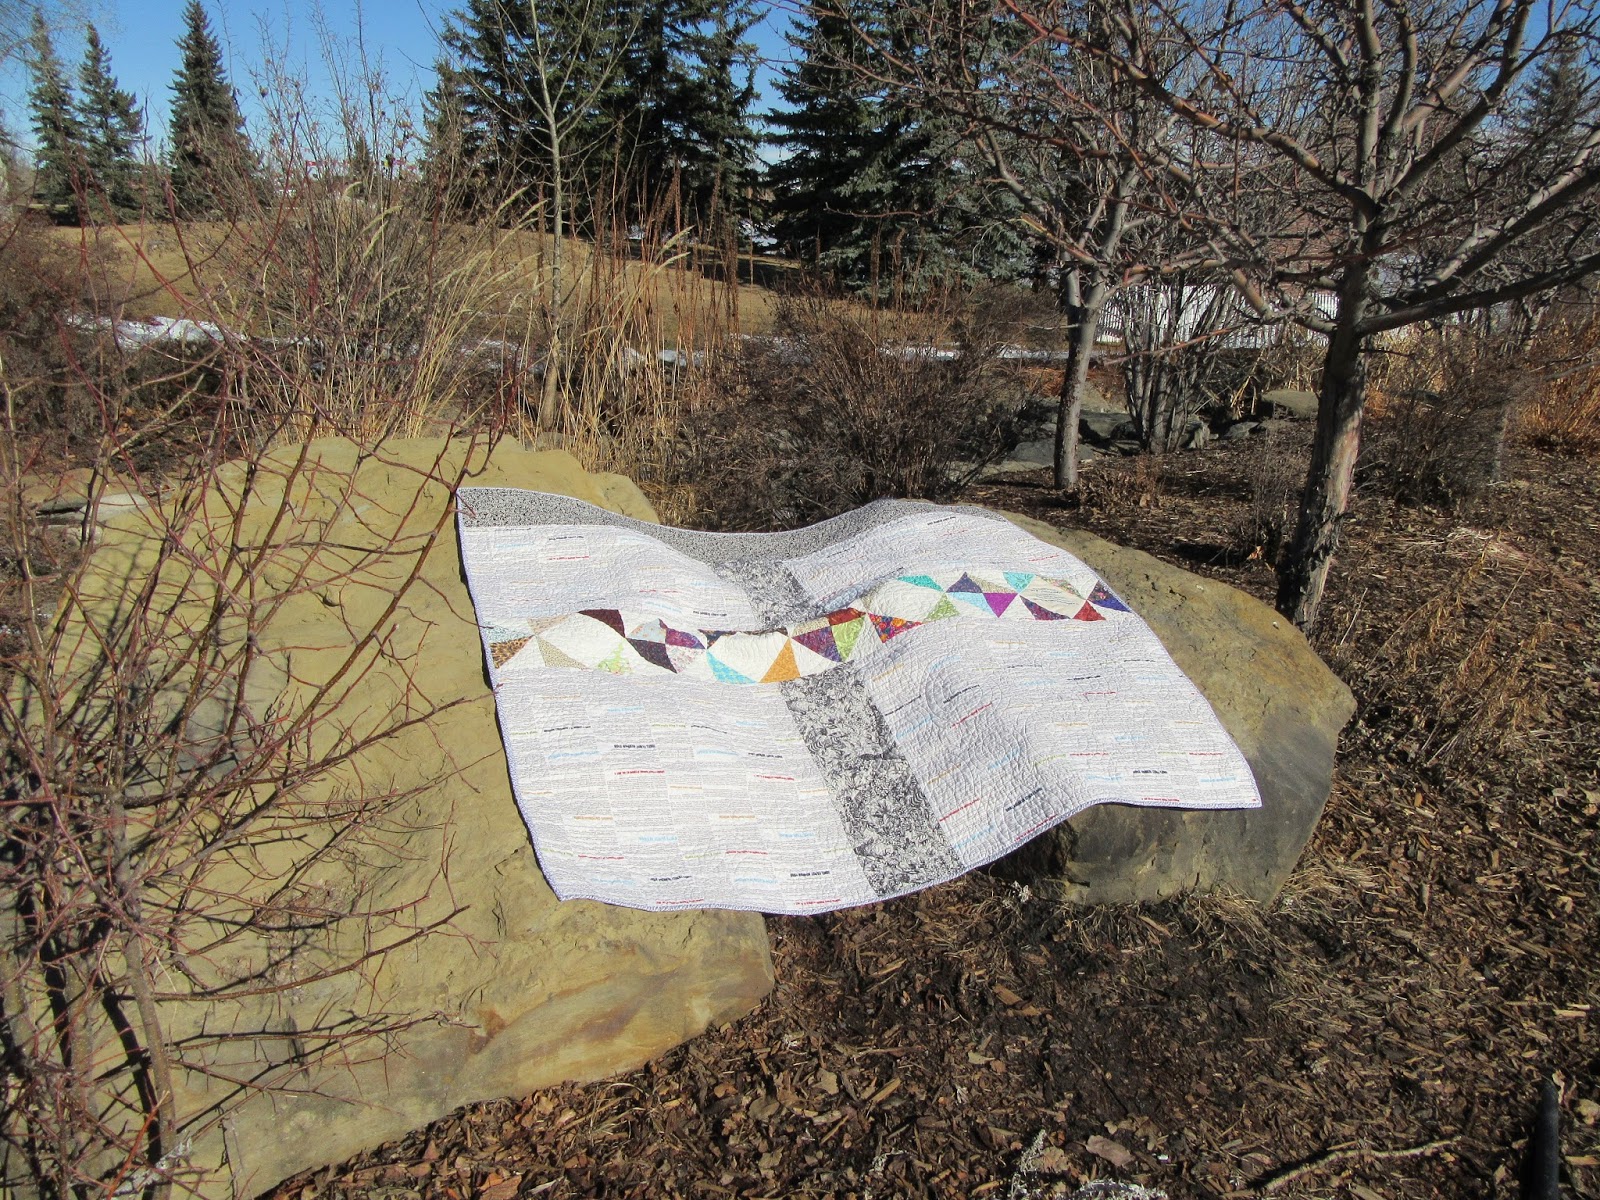
 1st up is my Mom's quilt. This quilt has been a labour of love for her. More labour than love ha-ha. I say more labour as it took her over a year to complete as a result of her hand surgery. This Scrappy half square triangle quilt is for my moms best friend the retired judge. This year she is celebrating her 70th BirthdayA big driver for my mom to have this quilt completed.

Lucky for my Mom she had the top ready to go before her surgery. All that was left to do was the machine quilting and binding. I shouldn't say "all that was left" because the end sometimes is the hardest and most tedious part. She is more adventurous than me and usually machine quilts the top herself however in lieu of her hand not doing so well I dropped it off to be quilted for her.

Once she got it back from being machine quilted it took her over a week to do the binding, little bits at a time. Usually she can have the binding done in no time .... I know this because I used to always pawn off my quilts on her to bind (still not my favorite part). The funniest part is that even with my mom basically using one hand to do the binding it still looks professional and with invisible stitches. HA mine look more like a kids 1st sewing project.

HOPEFULLY next up for Mom is a Wedding Quilt for her FAVORITE DAUGHTER
(PS. I can write favorite daughter cause I am writing this blog post =P )

Below is my moms Scrappy Half Triangle Quilt Enjoy!  


 What a great pattern, has such dimension. Almost looks 3D.


This back brings a modern twist, very versatile. Would look great on a bed with the back being displayed.


A hot new trend is the word print fabric ... I am jumping on the train for that trend. I can not get enough of the word/script/newsprint fabric. I am always drawn to it in the fabric stores.


The first look when she opened her gift
She looks thrilled! 
Mom says sorry it's so blurry!

Mom's best friend and then Mom - they both look pretty happy!
 I think she likes it!

****
Quilt # 2- The Youngests Creation 
2nd is my latest quilt. This quilt started out as a kit my Mom bought me about 5-6 years ago. I have been slowly picking away at it. I started putting it together 2 years ago at one of the quilting retreats.

With this quilt I had to use You Tube a little as the instructions that came with the quilt were basically in another language. This was the first time I have ever attempted a Y seam. My mom "seams" (ha-ha sewing joke) to think that me doing Y seams is impressive. Honestly I did not find them very difficult, I had a couple seam ripper moments but that is normal in any project. You Tube really was a big help.

This pattern made small windmills however I decided not to match up the fabric to form noticeable windmills. The reasoning was that I did not like the look of the defined windmills. When it was all laid out the windmills ended up very asymmetrical and not evenly distributed. I just felt that it would look better more evenly distributed. If you look close you can still make out Red and Black windmills. They are still there just less defined. All in all I like how this quilt turned out.


Since this blog post is all about "gifted" quilts I should probably tell you where this quilts new home is. I decided since my Mom was so impressed with my Y seams that I would finish this quilt and give it to her for Christmas.

I played a little trick on my Mom to throw her off. I am a big supporter and volunteer for the United Way and my original plan was to complete this quilt for our 2015 campaign and have it  raffled off. HOWEVER ... time managed to get away from me and I was no where close to having it completed in time for the end of the campaign. So I decided to complete it for Christmas and present it to my Mom. (I knew she would love and cherish it)

The funny part is I never let mom in on the little fact that I was no longer doing the quilt for United Way. She would ask me how the quilts coming along and when can she buy raffle tickets. I may have even told her at one point I got her raffle tickets and not to worry. (a little white lie, but I think it was necessary).


Check out the great quilted swirls. Really adds depth - and possibly a little bit of the twilight zone.


 So I am told this quilt will be living on the living room wall in Mom and Chef's house. That makes me a tad bit nervous, reasoning being now people will REALLY be looking at it. Hopefully no quilt police come around! They might just get kindly kicked out of the house ha-ha Just Joking.


And so concludes our lil' gifted quilt post.
Please leave a comment we love hearing from our readers.

Until next time

 - The Youngest -


Saturday, November 28, 2015

Dull and Dingy to FABULOUS - Ironing Board Cover

 
I have finally settled into my NEW sewing room and I am loving it. I have everything just where I want and as a result I have been sewing a heck of a lot more. It's become a little oasis of creativity ☺
 
However the more I sew the more I notice how our Ironing Board really needs a makeover. This ironing board has been all the way from the East coast to the West coast and then some.
 
It really is showing its age. It is looking rather sad and stained. I like to have a few projects on the go at one time so I decided WHY NOT I'll make a cover for the dull dingy ironing board.


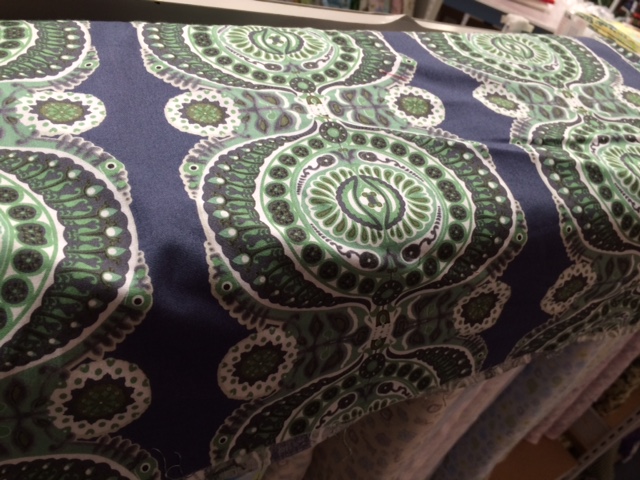
I went to pick out some fabric that would spice up that drab ole' ironing board. I nailed it down to the three choices below.
 
 
Choice # 1


Choice # 2


Choice # 3
 
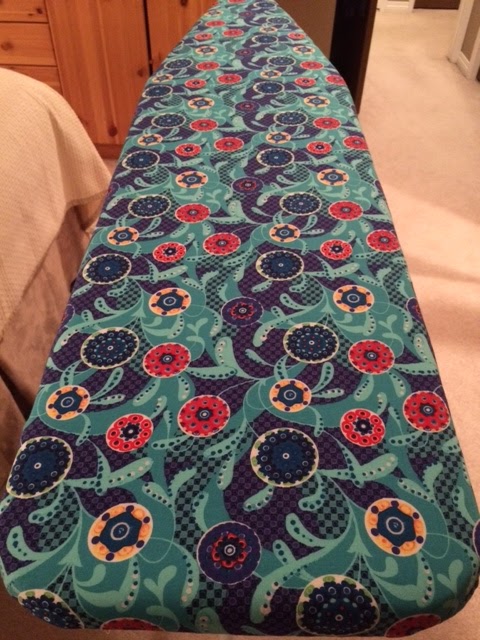
Ding Ding Ding ... Winner Winner Chicken Dinner


After a quick tutorial from the master (Mom) I was ready to go. I'm sure you could have been more precise than I was but I didn't think anyone would really bend down to see the bottom of my ironing board so I didn't see the point.

Supplies
-   2 meters fabric (I used quilting cotton)
-   Batting - enough for 1-2 layers (I kept the old cover and batting on for extra padding)
-   3 meters of 1/4" elastic
-   Basic sewing supplies

How To
Step 1 - Iron your fabric.
Step 2 - Lay out your fabric and place your ironing board on top.
Step 3 - Cut your fabric out, cutting  3" - 4" away from your ironing board.
Step 4 - Cut your batting using the ironing board as a template.
           - Cut the batting so that when pulled down it covers the edges of the ironing board.

As you can see below I was not all to precise (it really isn't too big of a deal)


Step 4 - Fold your raw edge over and sew approx. 1/4" the entire way around your cover.
           - Mine was a bit more than 1/4", that's okay.
           - Sew around the curves the best you can, you will need to slightly pleat your fabric as you go.
           - You will know what I mean when you get to the curved parts.
 
Step 5 - Fold your nicely sewn section over ~1" this will form a pocketed area .
           - This is where your elastic will go.
 
Step 6 - Sew 1/4"  around, try to keep your casing wider then the size of your elastic.
           - Leave about 1" opening at the end so you can feed your elastic in and around.
 
 
Step 7 - Feed your elastic in through your opening
           - Make sure you do not let your elastic tail go in as well or you will have to start over again
 
 
Step 8 - Place your cut batting on the ironing board ensuring the edges are covered as well.
           - I kept the old cover and batting on for extra padding as well.
           - While holding onto the two ends of your elastic, stretch your cover over your ironing board
           - Now with your cover over the board, pull the elastics as tight as you can, making sure that
              the new cover in completely covering the board and all the edges.
           -  It should look something like the picture below.
 
Step 9 - When you can no longer pull the elastic any more tie the elastic ends together with 3 - 5
              tight knots. This will ensure the elastic will stay together and tight.


Step 10 - Step back and admire your new ironing board cover ☺
 
I am very happy with how my new cover turned out and it was so simple and easy. It honestly took me no time at all. The longest part was trying to choose a fabric I liked.
 
Now my tutorial isn't the most precise however here is a link to a really good tutorial for this project. They used bias tape to form the pocket instead of my folding technique, etiher way works.


Hope you enjoyed my litte project!
Don't forget to comment - we love hearing from you
 
The - Youngest